Digital art can be made by diffusion process, which is a procedure to create a gradient blending of colors with the help of software used in image editing.In this essay a descriptive of steps and techniques will be discussed, using which diffusion undress images can be created.It is proceeded that they must be stable digital undress images, so that we can get a beautiful image as a result after completing this process.In our opinion, the process requires a bit of practice and is highly creative, but the end result is a true work of art which is vibrant and attractive.
How to Create Stable Diffusion Undress Images?
To create stable diffusion undress images, follow these steps:
- Prepare a solution containing the dye and stabilizer.
- Add the solution to the cells or tissue.
- Incubate the cells or tissue in the dye solution until the desired level of diffusion has been achieved.
- Wash and fix the cells or tissue to prevent the dye from leaking out.
- Analyze the resulting images to study the structure and function of the sample.
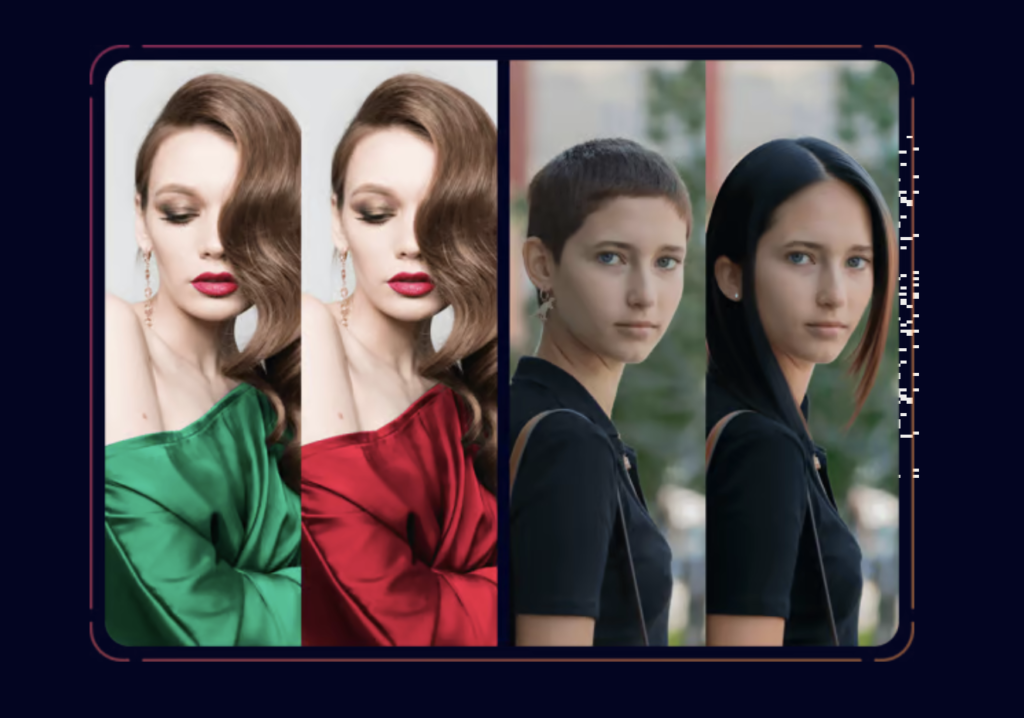
What is the best app to to Create Stable Diffusion Undress Images? Undress AI Tool

Undressaitool is an online platform that utilizes artificial intelligence to alter images, specifically to create unclothed versions of photos. These AI tools have attracted considerable attention and controversy because of their potential for misuse, like producing explicit content without consent.
Key features and aspects of Undressaitool include:
- AI-powered fakery: It will enhance photos of clothed individuals in order to replace unseen skin with a fake, naked version of the person in the photo by training algorithms to do this.
- Ethical issues: The creation and use of such tools present legitimate ethical concerns such as invasion of privacy, consent and potential harm to people whose images are edited without their knowledge.
- Legal issues: Serious legal issues surround their use, including rights under local privacy laws, defamation, or content such as pornography that is shared without permission.
- Easy to access: Often, the profits are based on their perceived accessibility and ease, making misuse by the public more prevalent.
For further information, you can visit Undressaitool’s website.
What type of base image should be used for the best results?

The best type of base image to use when creating Stable Diffusion Undress Images (SDUI) is an image with a high level of detail and contrast. This can include images of landscapes, nature, and portraits. The more detail and contrast in the image, the more interesting and visually striking the final SDUI image is likely to be. Additionally, it is important to choose a base image with a good balance of light and dark areas; images with a wide range of values will provide the most opportunities for creating interesting diffusion effects.
Which filters are best for creating a more “painted” appearance in the image?
A combination of filters that may result in a more drawn look of an image consists of the edge-detection filter, which can outline the borders of objects in the image edited thus producing a hand-drawn sketch look. Other filters made to imitate the hand-drawn sketch technique include the charcoal or pencil filter, which can be used in a similar fashion to produce a hand-drawn sketch by adding texture to the image and a stylised appearance. Using the pen tool to add lines and strokes to the image can also result in a similar drawn look. Lastly, the stipple filter can be used to add small dots, or specks, resembling pointillism to an image thereby making it more drawn-looking and art-looking.
What combination of filters will create a more “drawn” appearance in the image?

There are several specific combinations of filters that can help give any picture a drawn look. Take the edge-detection filter for example. This filter can be used to detect edges in the picture. When all the edges are highlighted, it will give objects in the picture a rough, drawn outline. The edge-detection filter works very well if you try to apply it to a picture of buildings and roads. It will outline the roads and add a drawn, hand-sketch look to the image. There is also a filter called charcoal or pencil that, when applied, gives the picture a rough, drawn or pixelated look. Applying either the charcoal or the pencil filter will also give the image more texture.
Other possible filters that you can use to create a drawn look in the image are the pen tool and stipple filter. The pen tool is used to apply a line to the picture that flows smoothly, as if it was drawn. When you use this tool, you decide on the tool option, choose a colour, and then draw freely, as if you were using a pen or pencil. This will give you the freehand full-line or full-stroke drawing effect. The stipple filter, on the other hand, is a type of pointillism tool. The tool adds small dots or specks all over the image, resembling a marker that adds stipples to the image and giving it a drawn, artistically designed look.
How can the filters be adjusted to achieve the desired effect?
Filters have settings that change the effect of the filter; these settings might vary the strength or radius of a diffusion filter, changing how much smudging or blurring you want to apply to your image. The settings for an edge-detection filter might be changed so that the individuated edges of your objects have less detail or more detail.
Charcoal or pencil filters have their own settings that might change the line weight, texture or hatching effect or intensity. Most filters have their own ballasts such as weight, shade, texture, hue, detail, opacity and so on; they are interactive controls that affect the effect. With these settings in mind, it can be seen that there is a general sound basis (but only a sound basis) with which to tweak filters to achieve the result one wants, and create an image that is diffusion canonically conceived as stable, undistorted diffusion: altered by the medium rather than disruptive of it.
What tools and settings should be used within the photo-editing software to ensure the diffusion process is stable and undistorted?
If you are using photo-editing software to generate the stable diffusion undress images, you will need to discriminate between the different tools and settings that can be employed to stabilise and undistort the diffusion process.
First of all, this task can be done with a good photo editor capable of applying diffusion process: by using required filters and tools in this software (such as diffusion filters, edge-detection tools, and brustsroke textured brushes, etc).
Also, when filtering the picture, it’s crucial to determine the filter settings, such as the intensity and the radius of the filters to be applied at exactly the desired diffused state. Besides, use the pen tool, smudge tool, or adjustment layer, as needed, to preserve the finer details of the photo and enhance it.
So, make sure you work in high-resolution and use non-destructive editing methods (eg, adjustment layers, smart objects), by which the underlying image is preserved and the diffusion process can be easily reversed. This gives you the opportunity to correct or tweak the image at a later stage if desired.
With the right mask, right settings within your photo-editing software, and appropriate scale, you could get consistently stable diffusion undress images that don’t appear to be distorted or unreal.
Conclusion
Hopefully, this essay has aided you in producing amazing high-resolution and steady diffusion undress images. With practice and experimentation, one can achieve mesmerizing and compelling results to push the boundaries of your digital art. So, get your brush and do some copies!